
I’ve been doing a lot of Java development lately and this problem seems to rear up at me every time I switch Java or JDK versions. After I found a fix I did a little research and here’s the summary of what happened.
The issue arises in a Java development environment, particularly when using IntelliJ IDEA with Gradle as the build tool. The error message “Execution failed for task ‘:compileJava’. > error: invalid source release: 21” indicates a mismatch between the Java version set in IntelliJ IDEA and the source compatibility version specified in the Gradle build configuration. This problem often occurs when switching between different versions of Java/JDK, as IntelliJ does not always automatically sync the Java version used across the Gradle build system.

Solution Steps:
1 Verify Current Java Version:
- Open a terminal or command prompt.
- Run
java -versionto check the installed Java version.
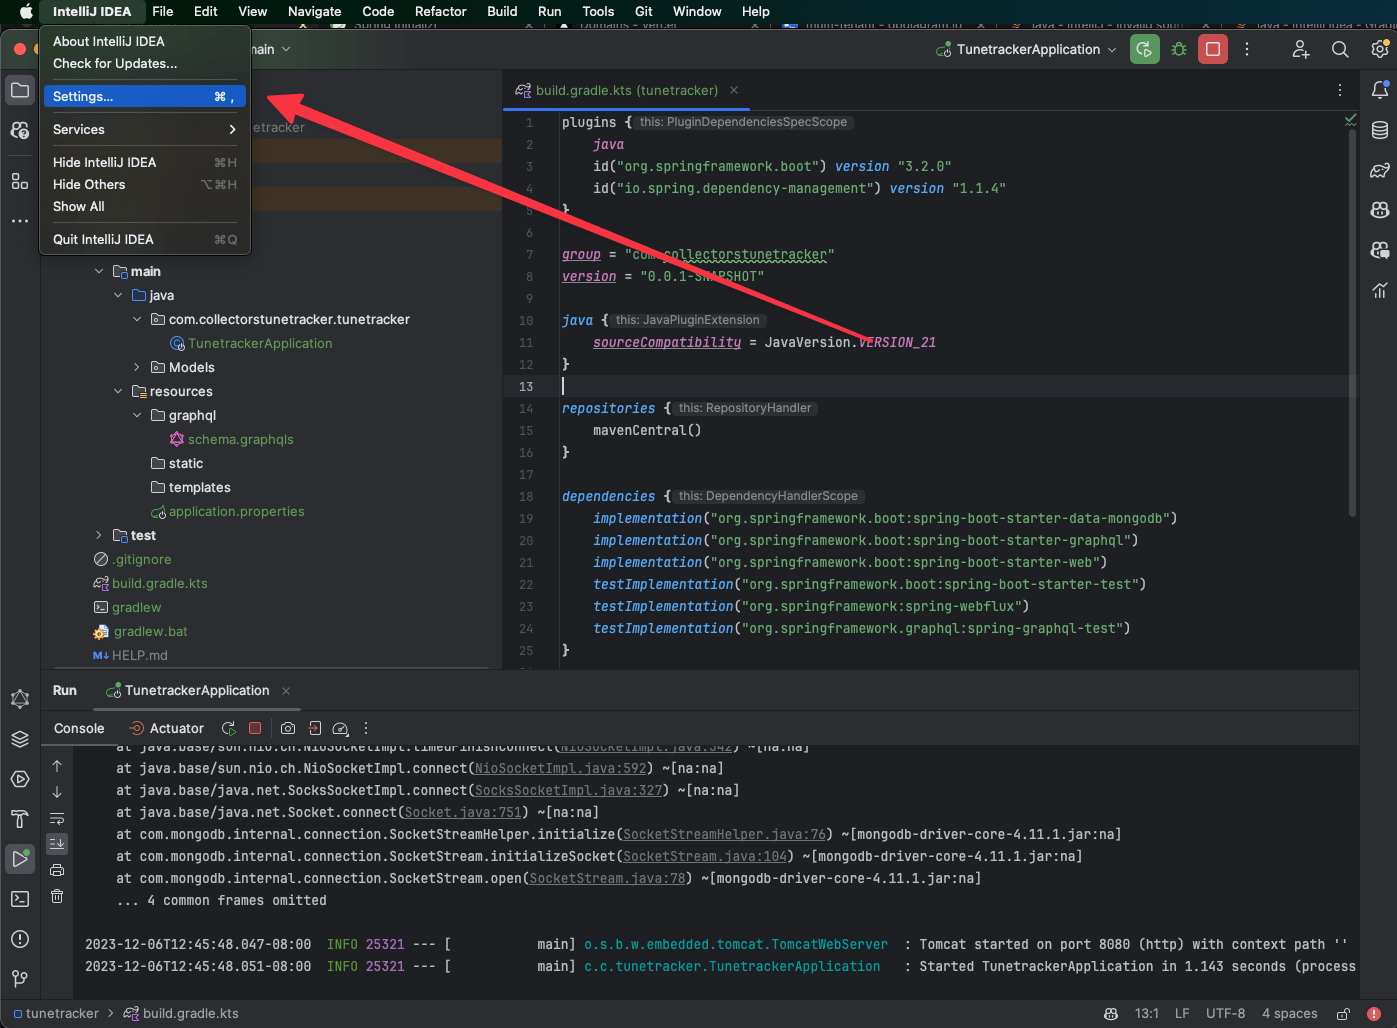
2 Open IntelliJ IDEA Settings:
- Launch IntelliJ IDEA.
- Navigate to
File -> Settings(orIntelliJ IDEA -> Preferenceson macOS).
3 Adjust Gradle Settings:
- In the Settings/Preferences window, go to
Build, Execution, Deployment -> Build Tools -> Gradle. - Here, you’ll find options related to the Gradle project.
4 Set the Correct JDK for Gradle:
- Under the “Gradle JVM” option, select the correct JDK version from the dropdown menu. This should match the JDK version you intend to use for your project.
- If the desired JDK is not listed, you may need to add it. Click on the “Add JDK” option and locate the JDK installation on your system.

5 Apply and Save Changes:
- Click
Applyto save the changes. - Click
OKto close the Settings/Preferences window.
6 Rebuild the Project:
- Go back to your project in IntelliJ IDEA.
- Rebuild the project to ensure the changes take effect. You can do this by clicking on
Build -> Rebuild Project.
7 Verify the Fix:
- After rebuilding, check if the error persists. If everything is set up correctly, the project should compile without the previous error.
You must be logged in to post a comment.